Step-by-Step Guide to Install FeedWind Widget on Your Website Using Divi Builder Plugin
Contents
 using the Divi Builder plugin.
Step 1: Get the FeedWind Widget Code
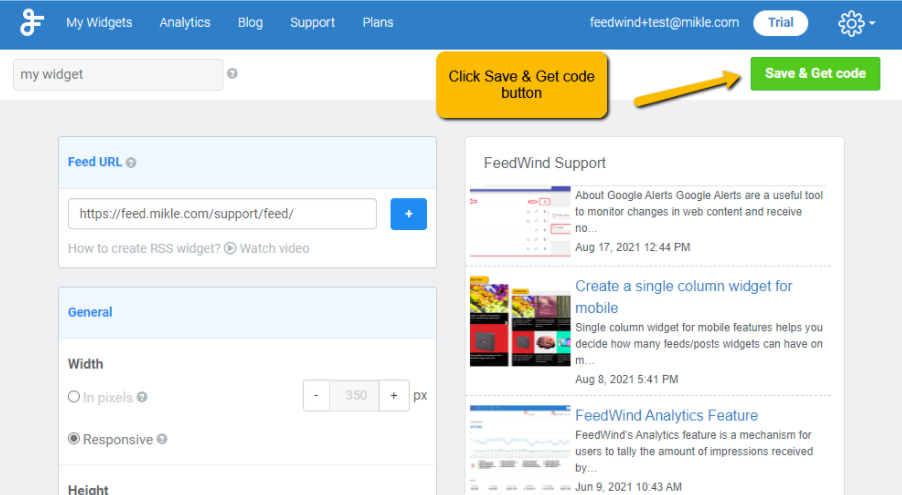
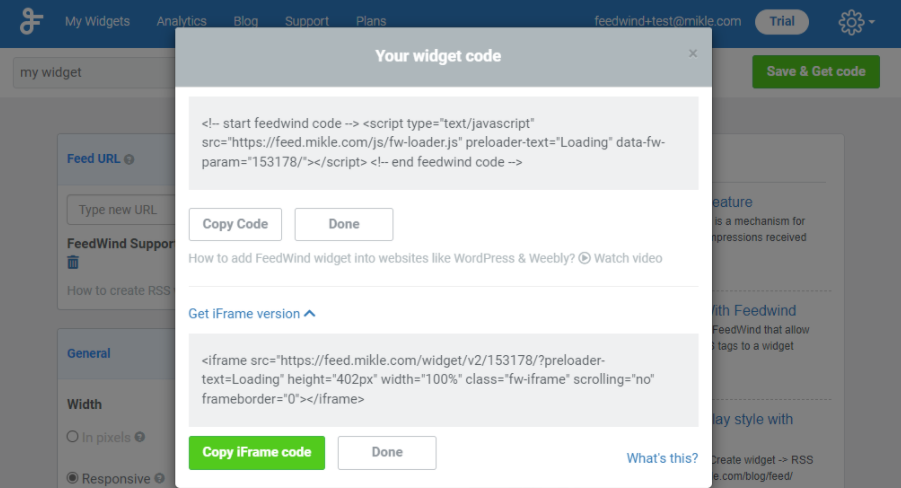
Before you can add the FeedWind widget to your website, you’ll need to get the widget code. To do this, login to your FeedWind account, go to the “My Widget” page, and select your widget. Here, you may edit the widget to your preferences in terms of its size, colour, and content. Once the appropriate changes have been made, click “Save & Get Code” and copy the code that displays.
Step 2: Install the Divi Builder Plugin
Installing the Divi Builder plugin on your website is the next step. You can download the plugin from the Elegant Themes website if you don’t already have it installed. The FeedWind widget will be added to your website when the plugin has been installed and activated.
Step 3: Let’s add the Widget to Your Website
To add the FeedWind widget to your website using the Divi Builder plugin, follow these steps:
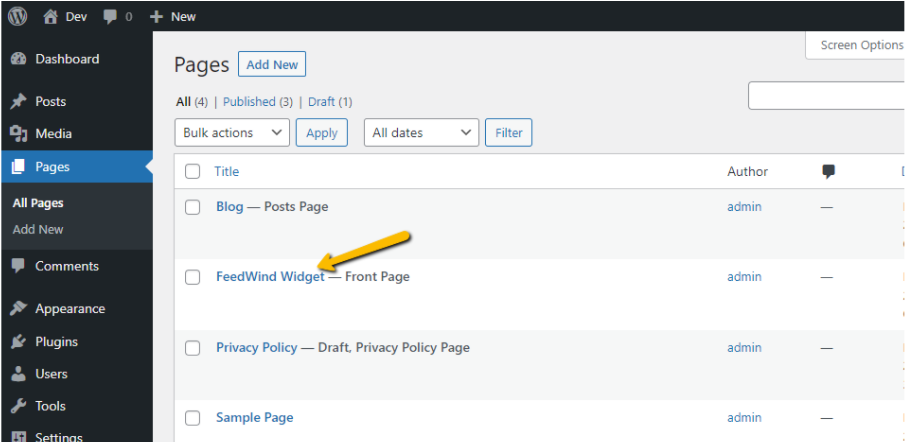
- Go to your WordPress dashboard and select the page where you want to add the widget.
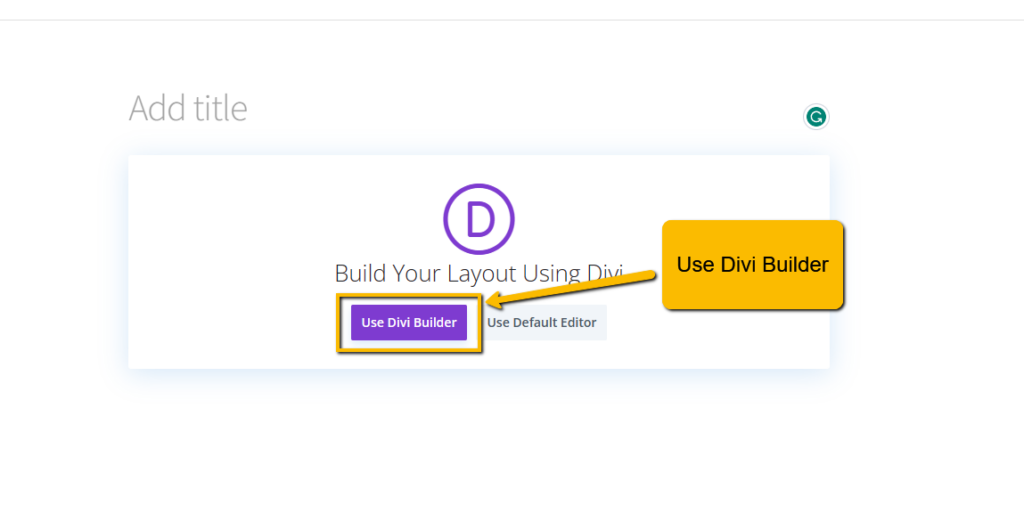
- Click the “Edit with Divi Builder” button to open the Divi Builder editor.
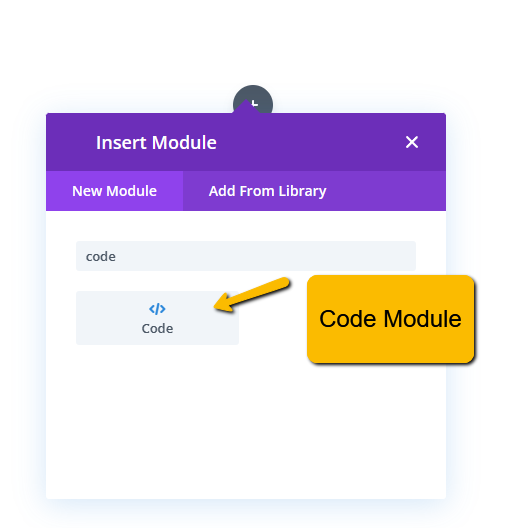
- In the Divi Builder popup modal, click the “New Module” button and select the “Code </>”
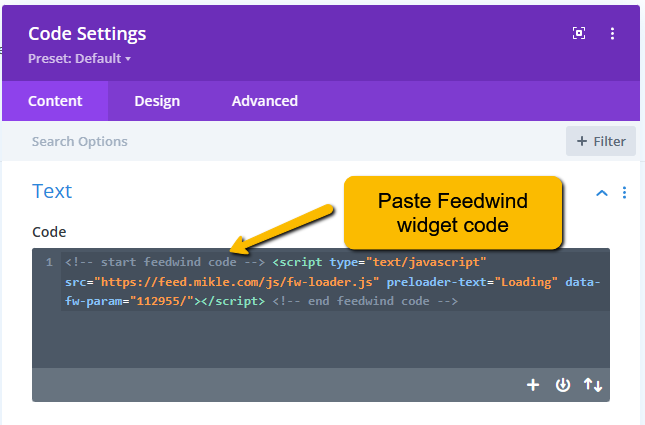
- In the Code Module, paste the FeedWind widget code you copied in Step 1
 .
. - Customize the module as needed and click the “Save” button to save your changes.
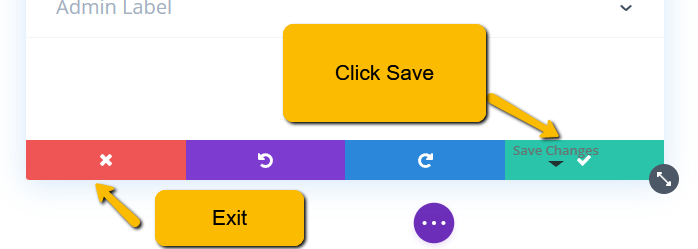
- Preview your page to make sure the FeedWind widget is appearing as expected. To make your changes live, click the “Publish” button if everything seems fine.

That’s all! With the Divi Builder plugin, you can easily add the FeedWind widget to your website. The widget will now show live RSS feeds from your favourite websites, keeping your blog or website up to date with the most recent happenings.
The Divi Builder plugin makes it simple and quick to add the FeedWind widget to your website.
Please let us know if need any assistance setting up a customize widget demo contact us.


