Add Dynamic Widget to Your Webflow Website: Step-by-Step Guide
Contents
If you’re looking to seamlessly integrate dynamic content an RSS feed, social media updates, or calendar widget into your Webflow website, FeedWind is the perfect solution. In this guide, we’ll walk you through the steps to add a FeedWind widget to your Webflow site, enabling you to showcase dynamic content with ease.

Step 1: Create Your FeedWind Widget
- Sign in or sign up for FeedWind
To begin, log in to your FeedWind account, or if you’re new to FeedWind, sign up for a free account.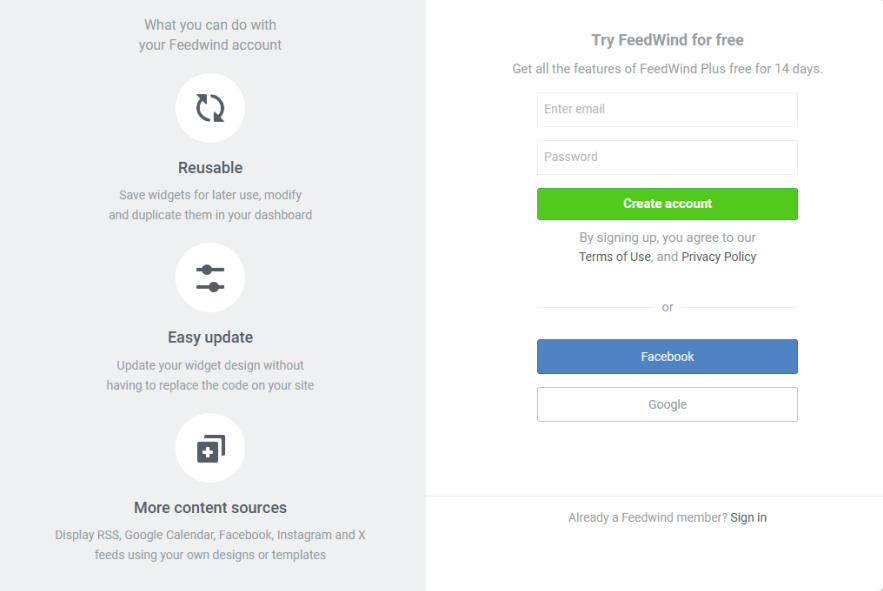
- Create a New Widget
- Once logged in, navigate to the dashboard and click on the “Create Widget” button.
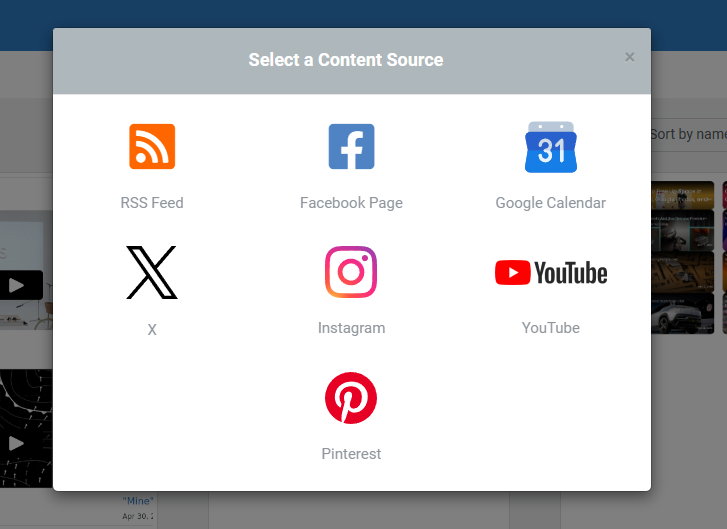
- Select the type of widget you want to create. FeedWind offers widgets for RSS feeds, Instagram, YouTube, Pinterest, and more.
- For this tutorial, we will focus on adding an RSS feed.
- Customize Your Widget
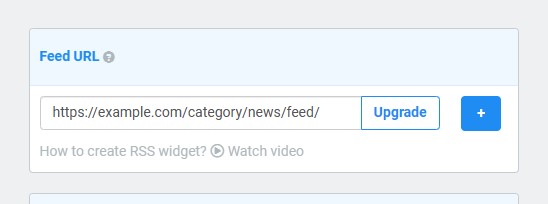
- Feed URL: Enter the RSS feed URL you wish to display on your Webflow website.
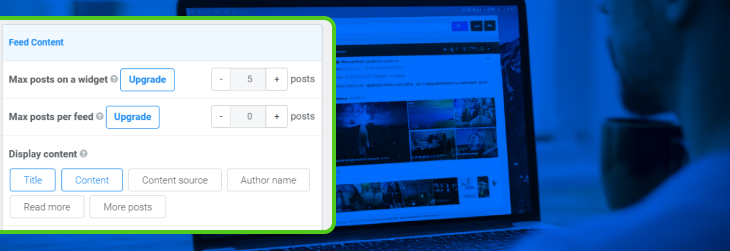
- Design: Customize the layout, colors, fonts, and sizes to fit your Webflow site design. FeedWind provides real-time previews, so you can see the changes as you make them.

- Advanced Settings: Adjust the widget’s post, content filtering, and auto-scroll options.
- Feed URL: Enter the RSS feed URL you wish to display on your Webflow website.
- Save and Generate the Widget Code
- Once you’re satisfied with the customization, click “Save.” FeedWind will generate an HTML embed code for your widget, which you’ll need for the next step.
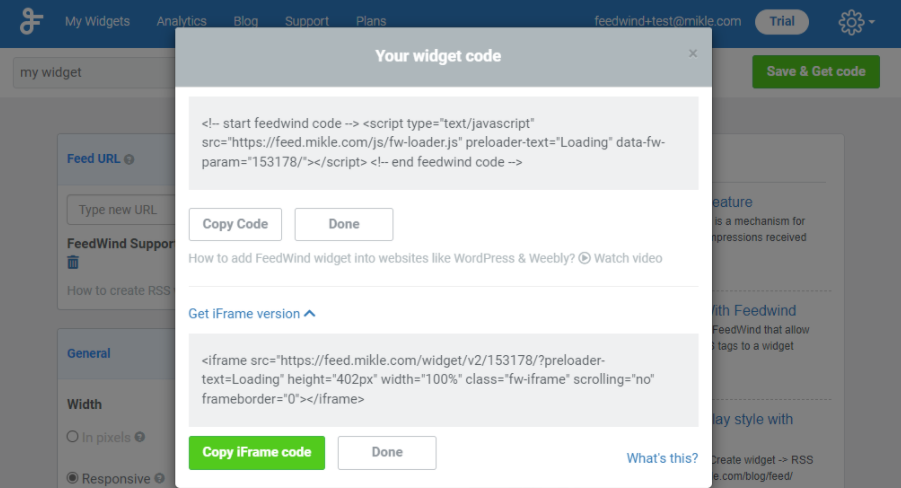
- Once you’re satisfied with the customization, click “Save.” FeedWind will generate an HTML embed code for your widget, which you’ll need for the next step.
Step 2: Add the FeedWind Widget to Your Webflow Site
- Log in to Webflow
- Open the Designer
- Click on the “Designer” option from your Webflow dashboard. This will open the page editor for your website.
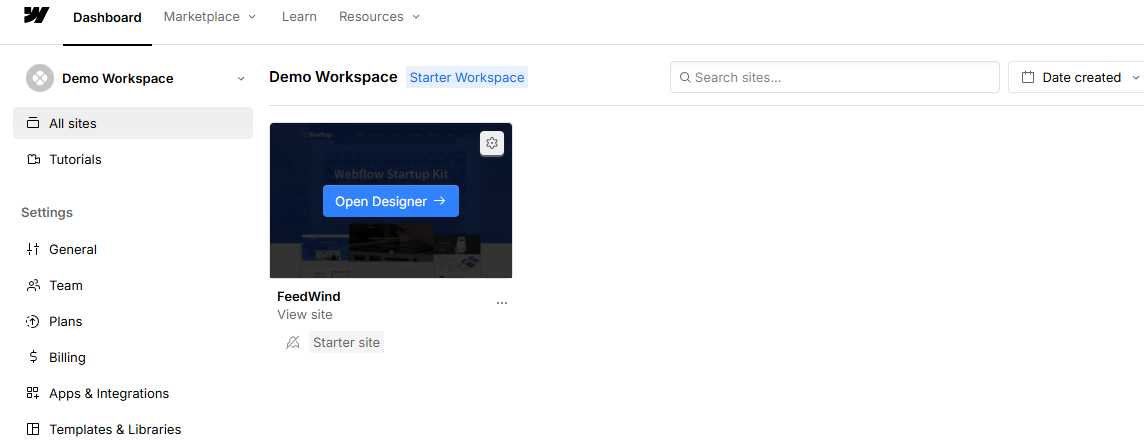
- Click on the “Designer” option from your Webflow dashboard. This will open the page editor for your website.
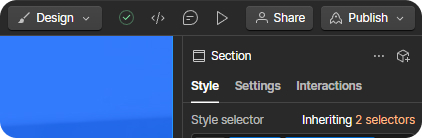
- Choose the Page and Section
- Navigate to the page where you’d like the widget to appear. If needed, create a new section for it by using the “Add Section” feature.
- Navigate to the page where you’d like the widget to appear. If needed, create a new section for it by using the “Add Section” feature.
- Embed HTML Code
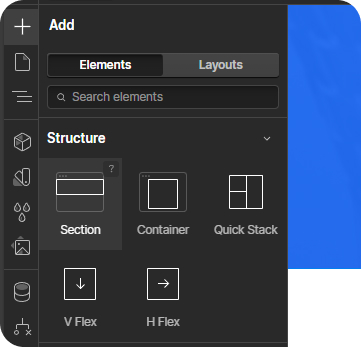
- In the left sidebar, click on the “+” icon to add a new element.
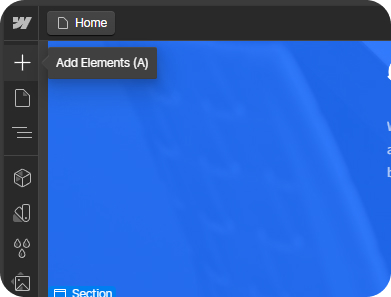
- Scroll down to the “Code Embed” under “Advanced” section and drag the “Code Embed” block into the section where you want to place the widget.
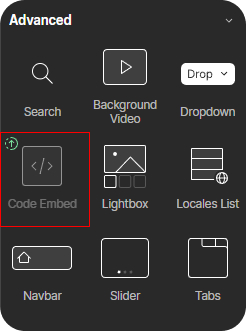
Note: The “Code Embed” module is only available for Webflow’s paid users. If you’re on the free plan, you’ll need to upgrade to access this feature. - Paste the HTML code from your FeedWind dashboard into the embed code box.
- In the left sidebar, click on the “+” icon to add a new element.
- Save and Publish
- Click the “Save” button and preview the page to ensure the widget displays correctly. Once you’re satisfied with the result, hit “Publish” to make the changes live on your Webflow site.
- Click the “Save” button and preview the page to ensure the widget displays correctly. Once you’re satisfied with the result, hit “Publish” to make the changes live on your Webflow site.
- Step 4: Monitor and Update Your FeedWind Widget
- Once the widget is live on your Webflow website, you may need to update it periodically. FeedWind allows you to:
- Change feed sources.
- Adjust display settings.
- Refresh content automatically.
- To do this, log back into your FeedWind dashboard, make any necessary updates, and the changes will reflect instantly on your Webflow site.
- Once the widget is live on your Webflow website, you may need to update it periodically. FeedWind allows you to:
Conclusion
Adding a FeedWind widget to your Webflow website is a quick and easy way to enhance user engagement with dynamic content such as RSS feeds or social media updates. By following these steps, you can integrate and customize your widget effortlessly. Now, your Webflow site can showcase fresh, live content that keeps visitors engaged.
Related posts

TikTok Widget for Websites | Easy Setup
Contents1 Why Add TikTok Videos to Your Site2 How to Make a TikTok Widget (5 Easy Steps)3 Best Practices...

LinkedIn Widget: Live Feed Setup
Contents1 Why Use a LinkedIn Widget2 How to Create Your LinkedIn Widget A LinkedIn widget lets you display live...

New DOM-Based RSS Feed: Easily Add News and Updates to Your Website
Contents1 A Better Way to Share News with a DOM-Based RSS Feed1.1 What was the Old iFrame RSS Feed?1.2...